HubSpot Integration
HubSpot provides a comprehensive ecosystem of software solutions designed to power inbound marketing, accelerate sales, and deliver top-tier customer service.
The CraftMyPDF app integrates with your HubSpot account and allows all your HubSpot users to access the templates created in your CraftMyPDF account. You only need one CraftMyPDF account to serve your whole team.
The CraftMyPDF app can generate PDFs for the following CRM objects:
- Contacts
- Companies
- Deals
- Tickets
- Orders
- Carts
- Custom objects (HubSpot Enterprise subscription required)
In addition, the following CRM objects are supported if they have been activated in the HubSpot data model builder:
- Appointments
- Courses
- Listings
- Services
- Projects
Requirements
- A HubSpot account
- A CraftMyPDF account
You can start with free accounts for both platforms and upgrade later if you need to.
Install the app
-
Log in to your HubSpot account.
-
Go to the CraftMyPDF app installation page.
-
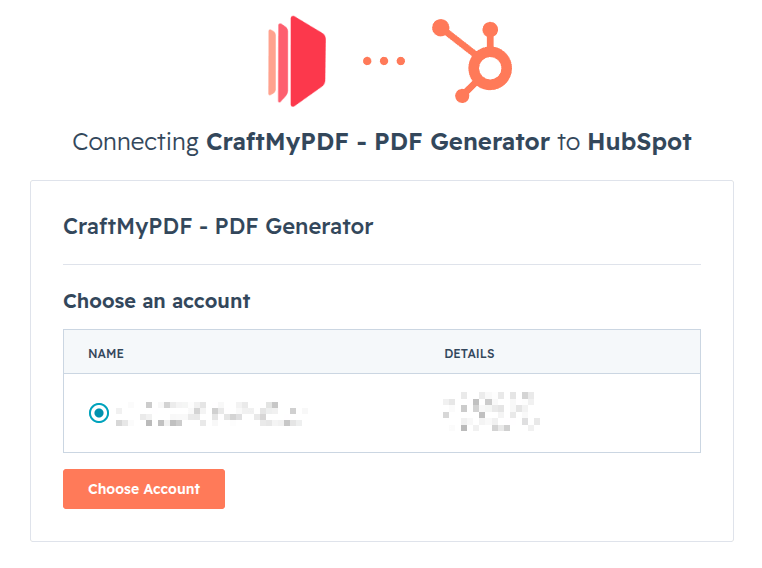
Select the HubSpot account that you want to connect to the CraftMyPDF app, and then click Choose Account.
-
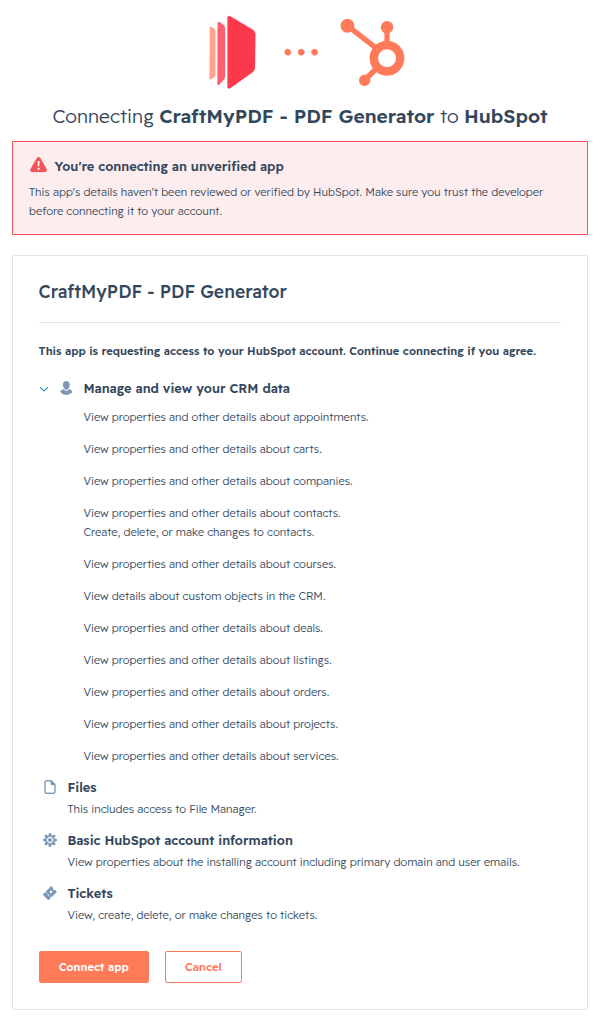
Review the requested permissions on the screen, and click Connect app.
-
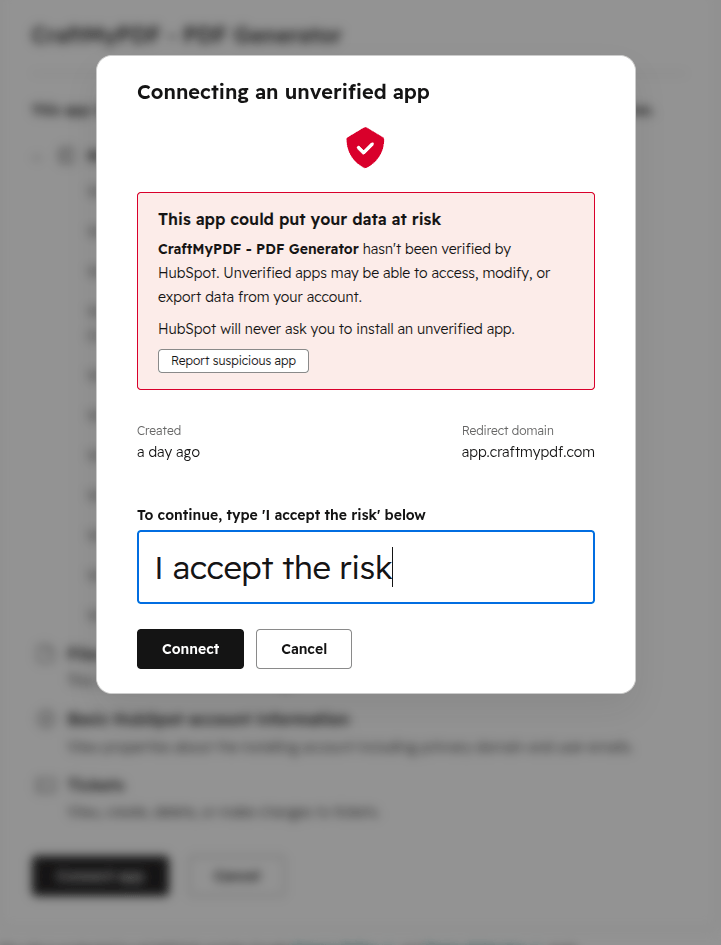
Because the CraftMyPDF app is newly created, HubSpot has not verified it yet. You must type I accept the risk into the text box and click Connect to confirm the connection.
-
HubSpot will redirect you to this documentation page. You have successfully connected the CraftMyPDF app to your HubSpot account.
Configure the app
Before you can use the CraftMyPDF app on HubSpot, there are two required prerequisites: set the API key and set the app card location.
-
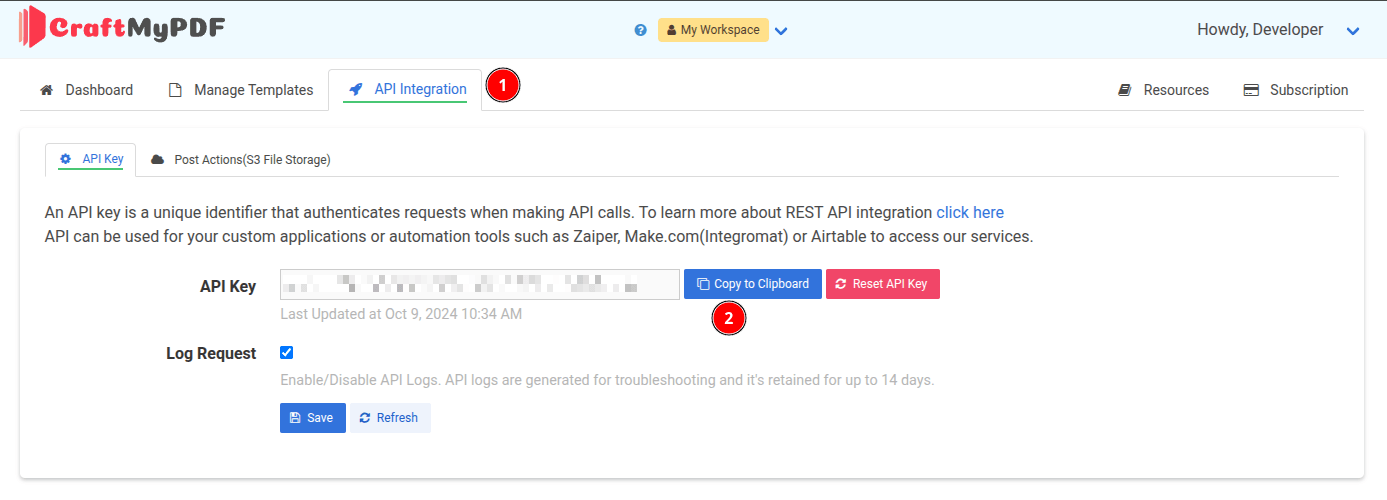
Log in to CraftMyPDF, and click the API Integration tab (or the Team API Integration tab if you plan to use your Team account). Copy your API Key.
-
In your HubSpot account, click the settings icon in the top navigation bar. In the left sidebar menu, navigate to Integrations > Connected Apps.

-
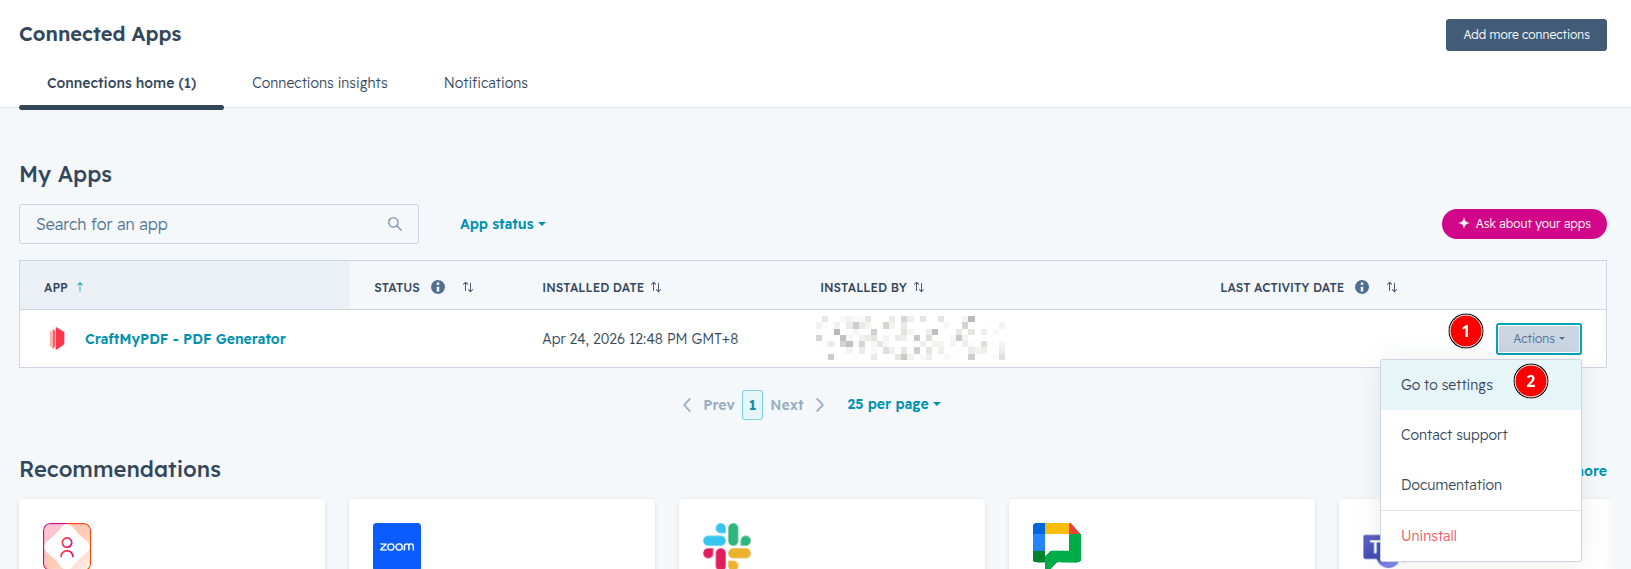
Click the Actions button on the CraftMyPDF app, and then click Go to settings.
Set API key
-
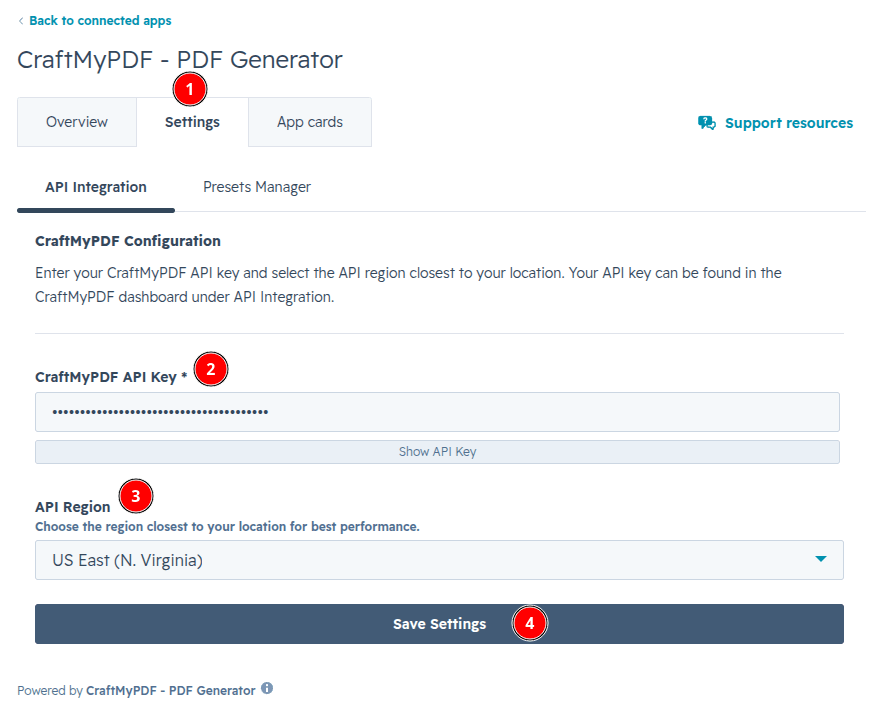
Click the Settings tab. Paste your copied CraftMyPDF API Key. Optionally, choose the region that is closest to your location for lower latency. Click Save settings.
Set app card location
-
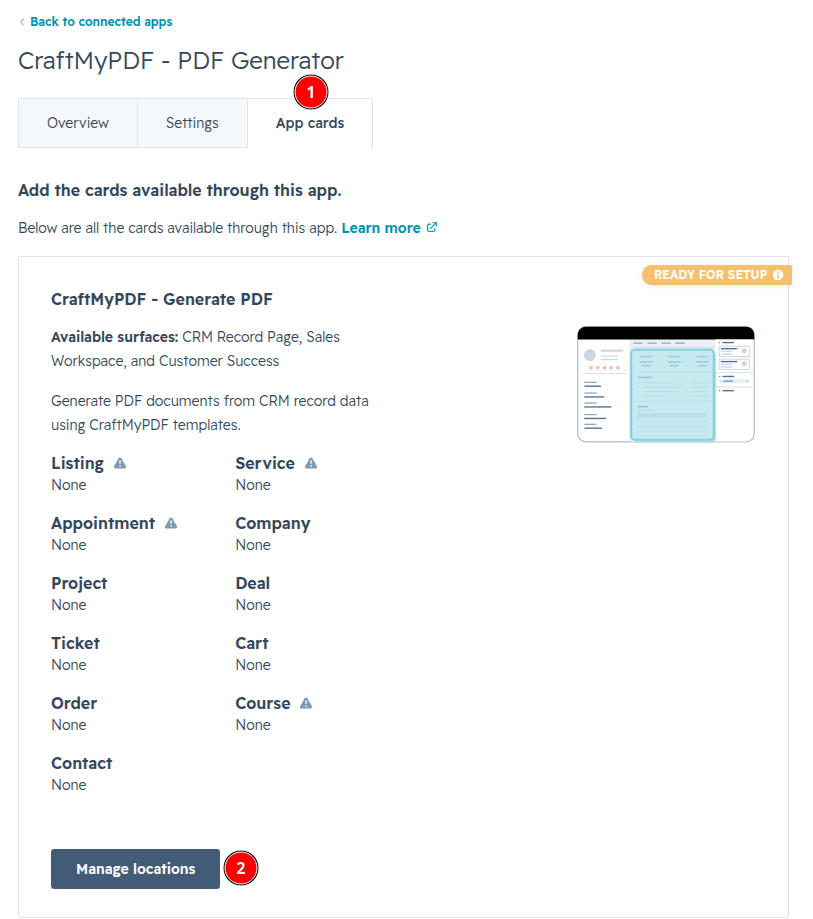
Next, click the App cards tab, and then click the Manage locations button.
-
On the side panel, decide which CRM records the CraftMyPDF app card will appear on. You can also select the specific locations and views where the card should appear. Finally, click Save.

To learn more about customizing HubSpot views, refer to the following HubSpot Knowledge Base articles:
Use the app
After you have configured the API key and the app card location, you are ready to generate PDF documents for your HubSpot CRM record data.
-
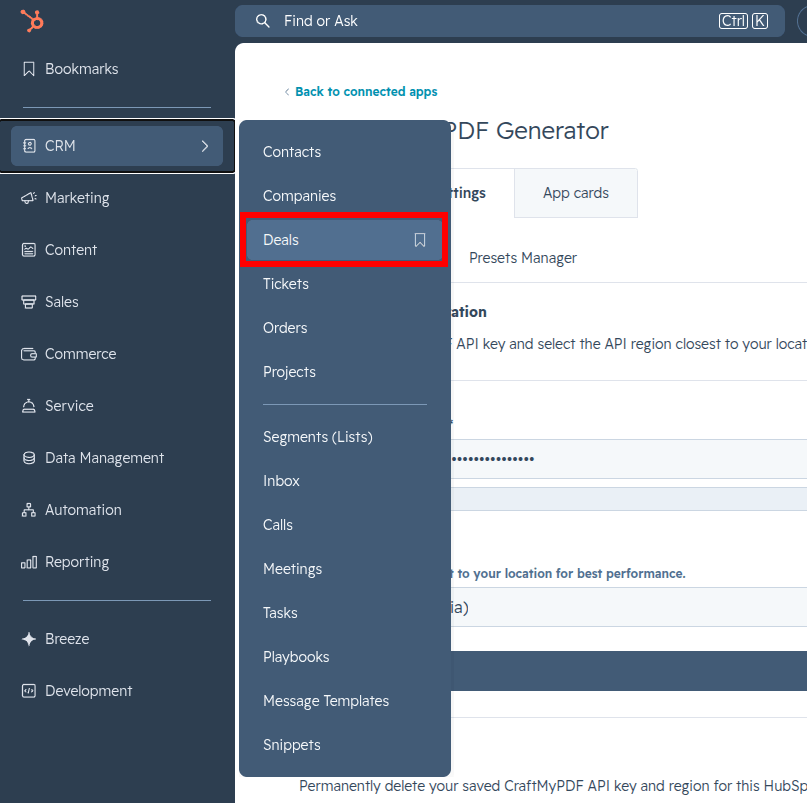
Start by navigating to your HubSpot CRM record. In this documentation, we will use Deals for demonstration.
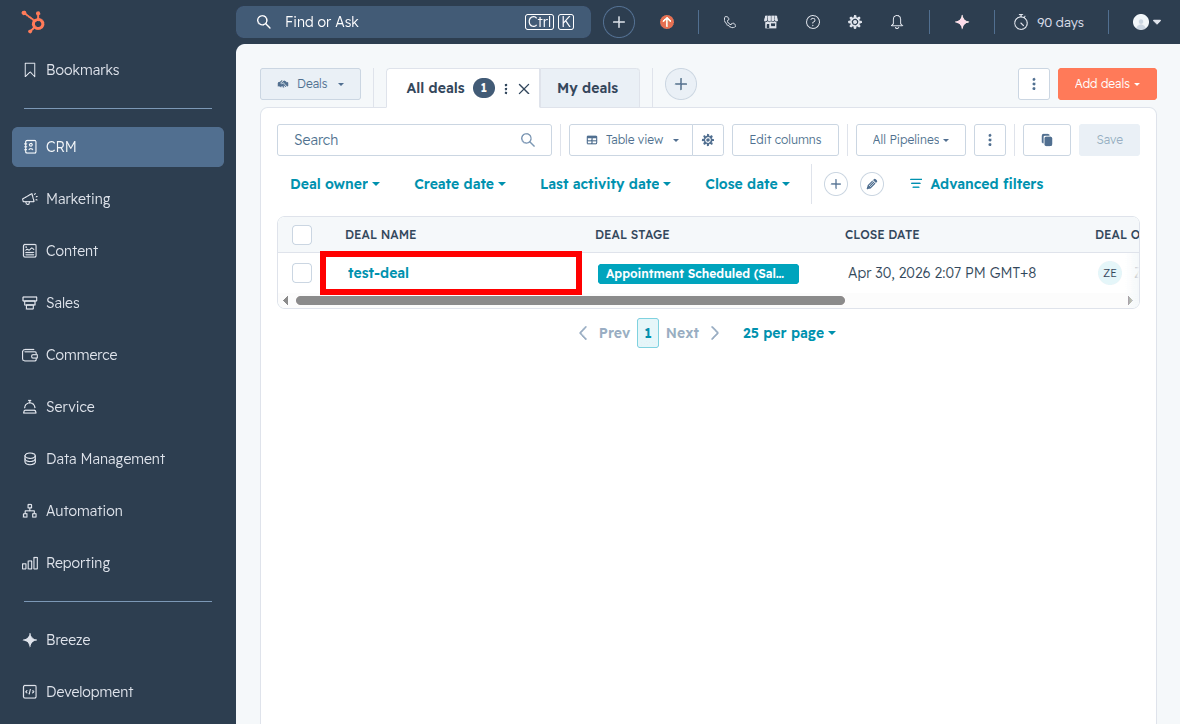
-
The CraftMyPDF app card will appear in the configured location.
Adding HubSpot properties to your template
HubSpot records contain data as properties, and these properties are used to retrieve and display your data. Each property is a key-value pair.
To merge your HubSpot data with your CraftMyPDF templates, you must find the property names (keys) and paste them into your template. The CraftMyPDF app card provides an easy Preview Data feature where you can see and copy the properties of your record.
-
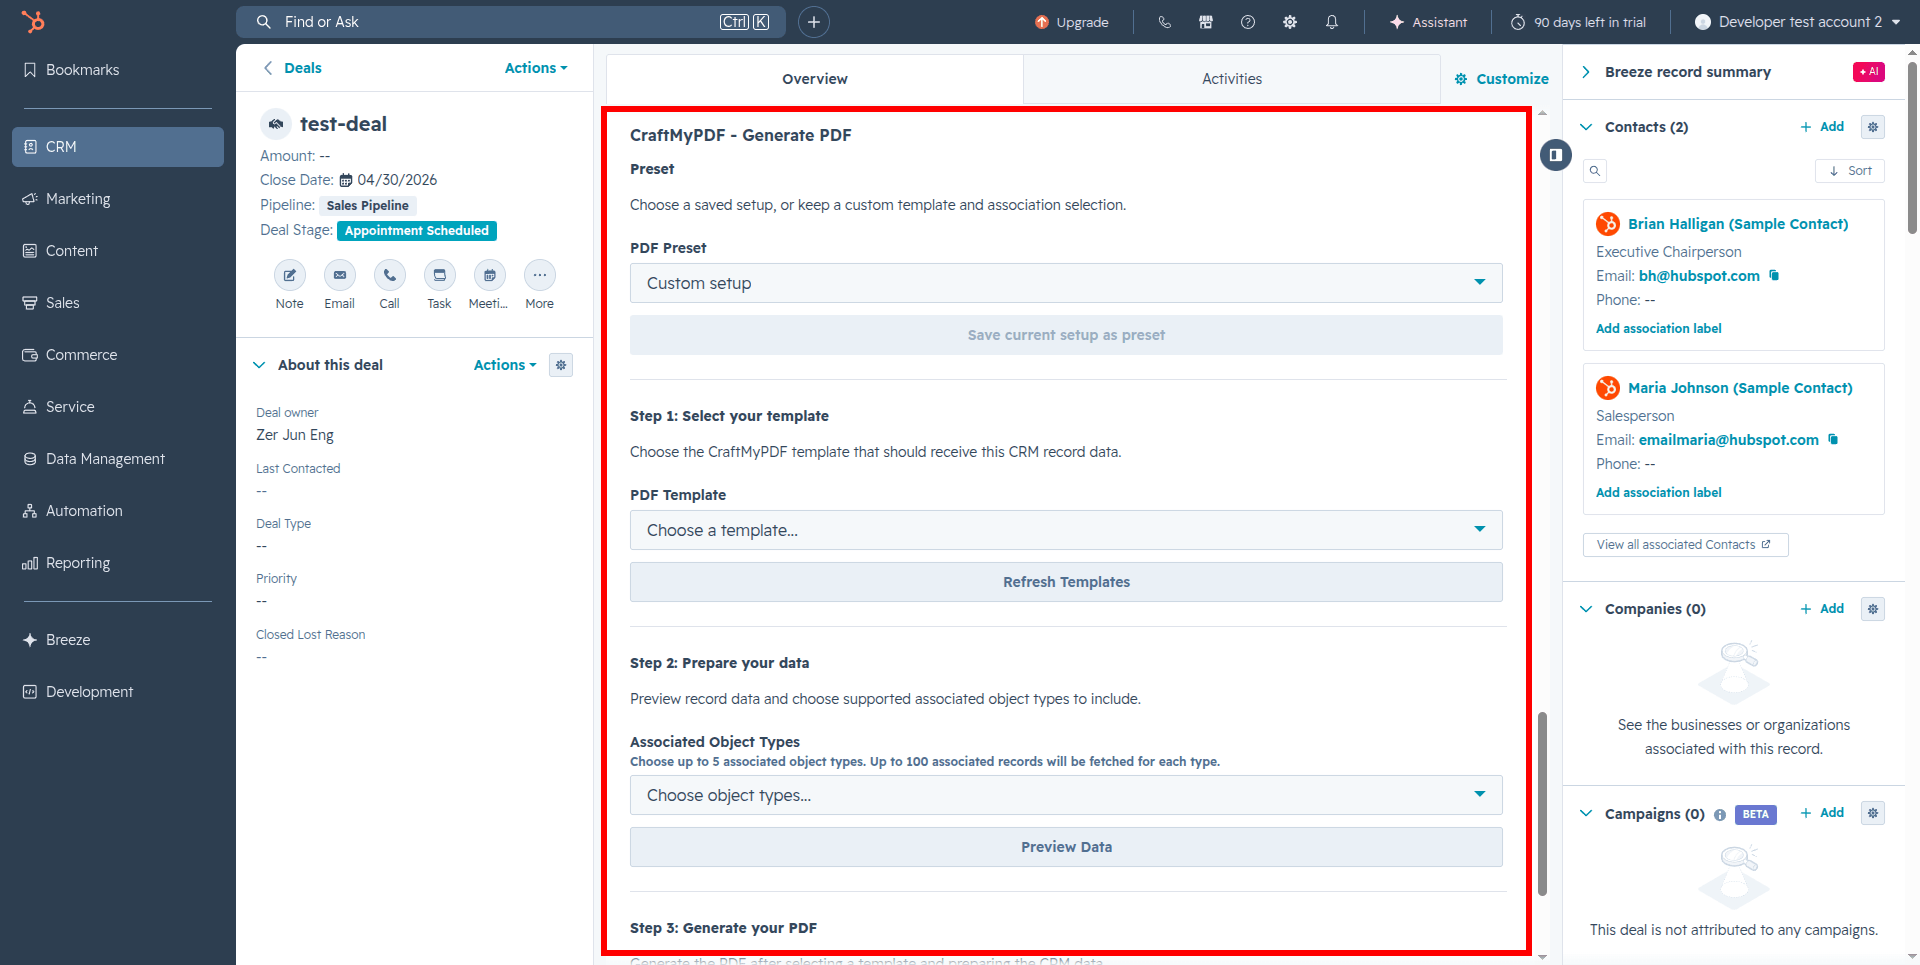
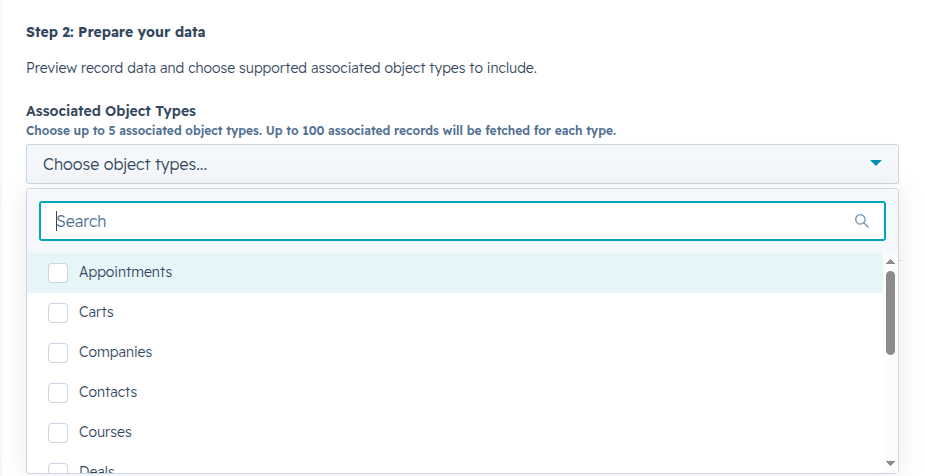
Under the Step 2: Prepare your data section, you can optionally choose to include associated object types. Click the Preview Data button.

-
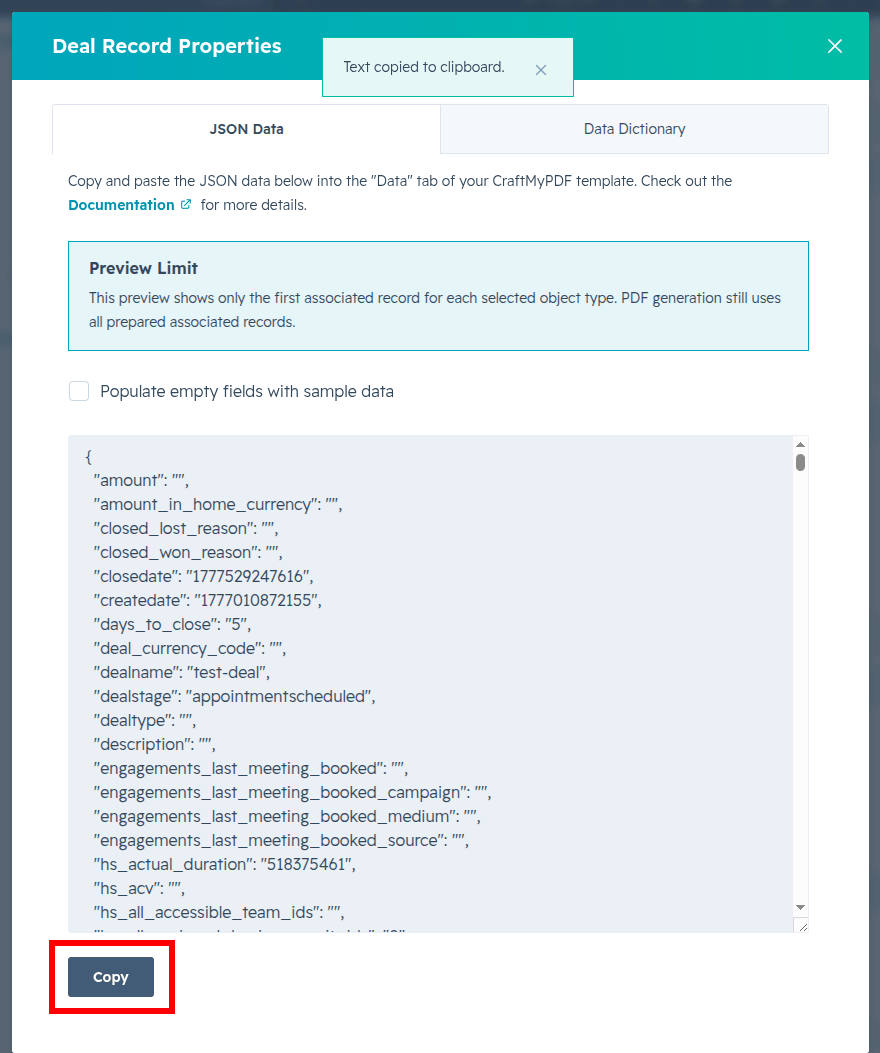
A dialog box will appear. The JSON Data tab shows a preview of your record data. Click the Copy button, and the system will show a Text copied to clipboard success message.
-
Log in to CraftMyPDF, navigate to your desired CraftMyPDF template, click the Data tab, and paste the preview data into the text area.
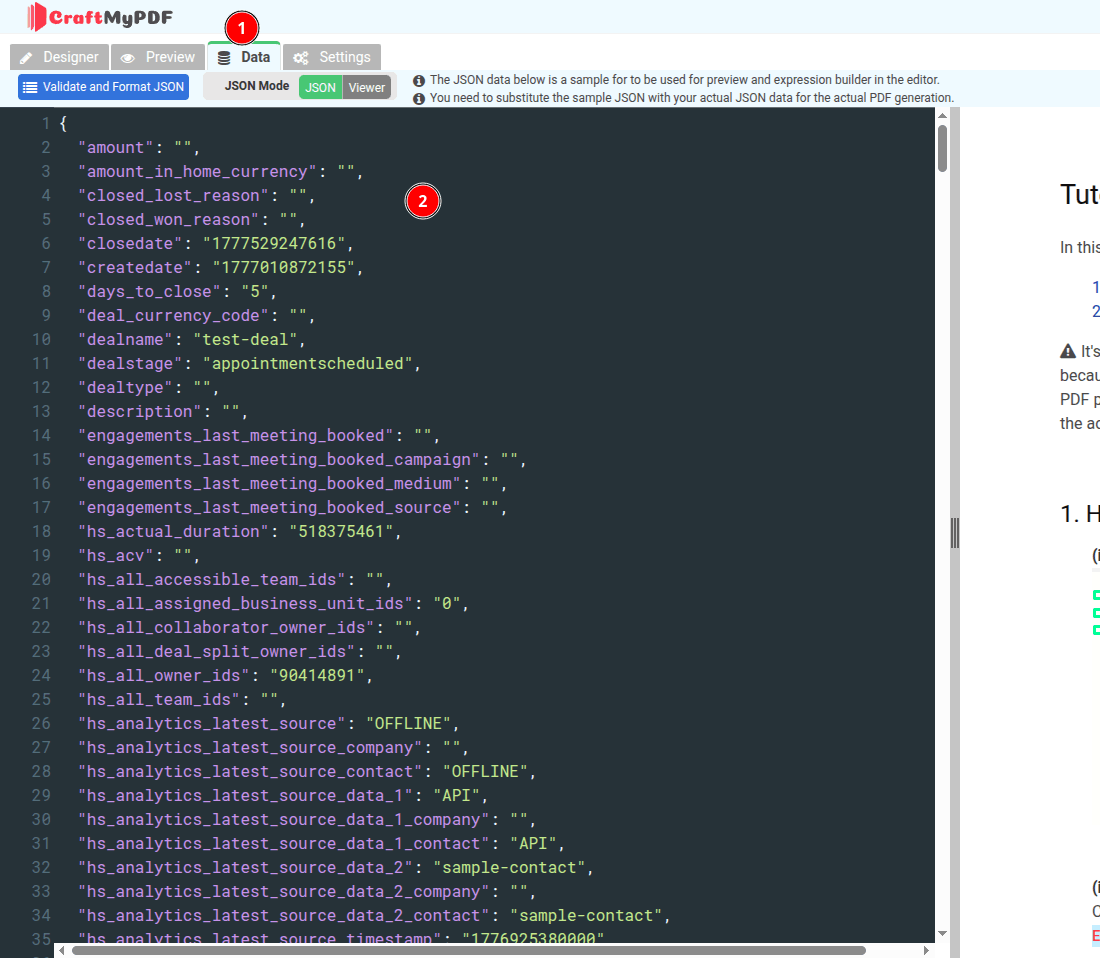
-
Then, click the Designer tab. Here you can drag and drop the data fields into your template.
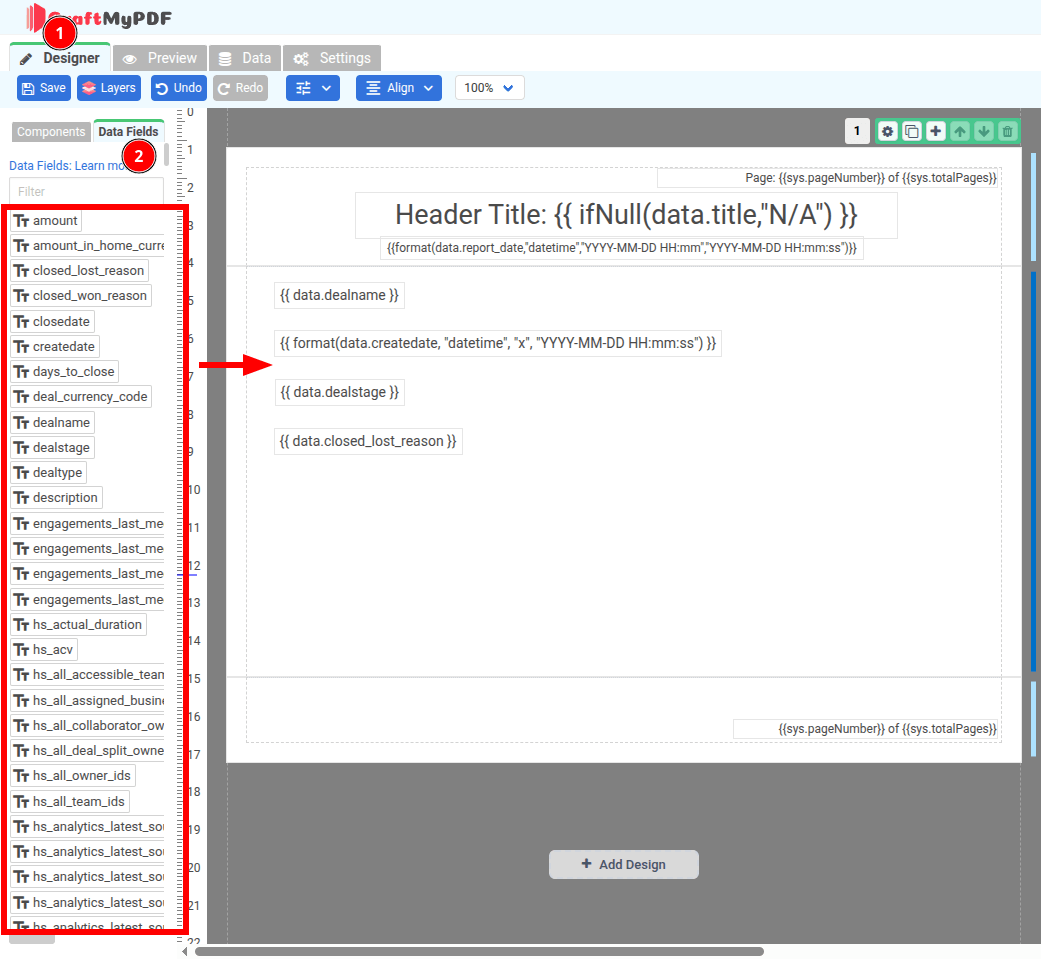
-
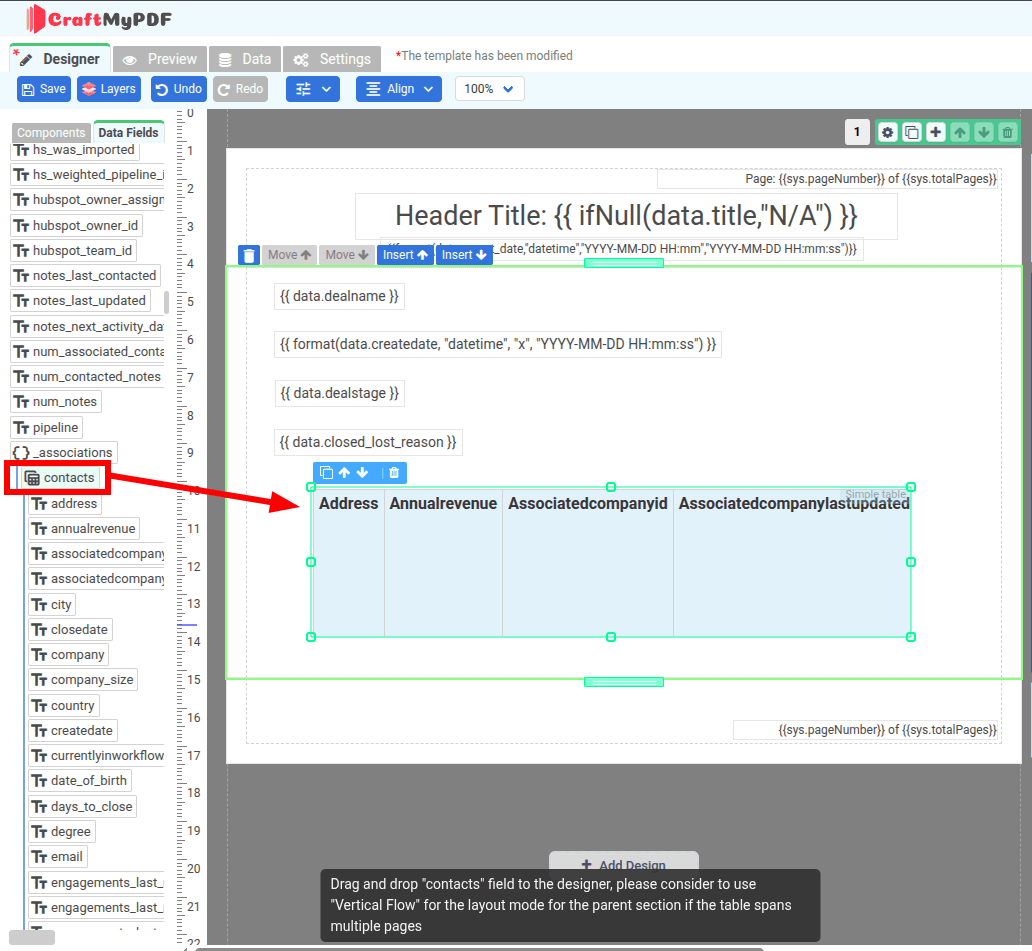
For associations, scroll down and look for the _associations field. In this example, we have selected to include the Contacts association. Therefore, a contacts field is available. Drag and drop the contacts field into the template, and a table will be created automatically.
After you have finished setting up your template, do not forget to click the Save button at the top-left corner to save your changes.

Generating PDF documents
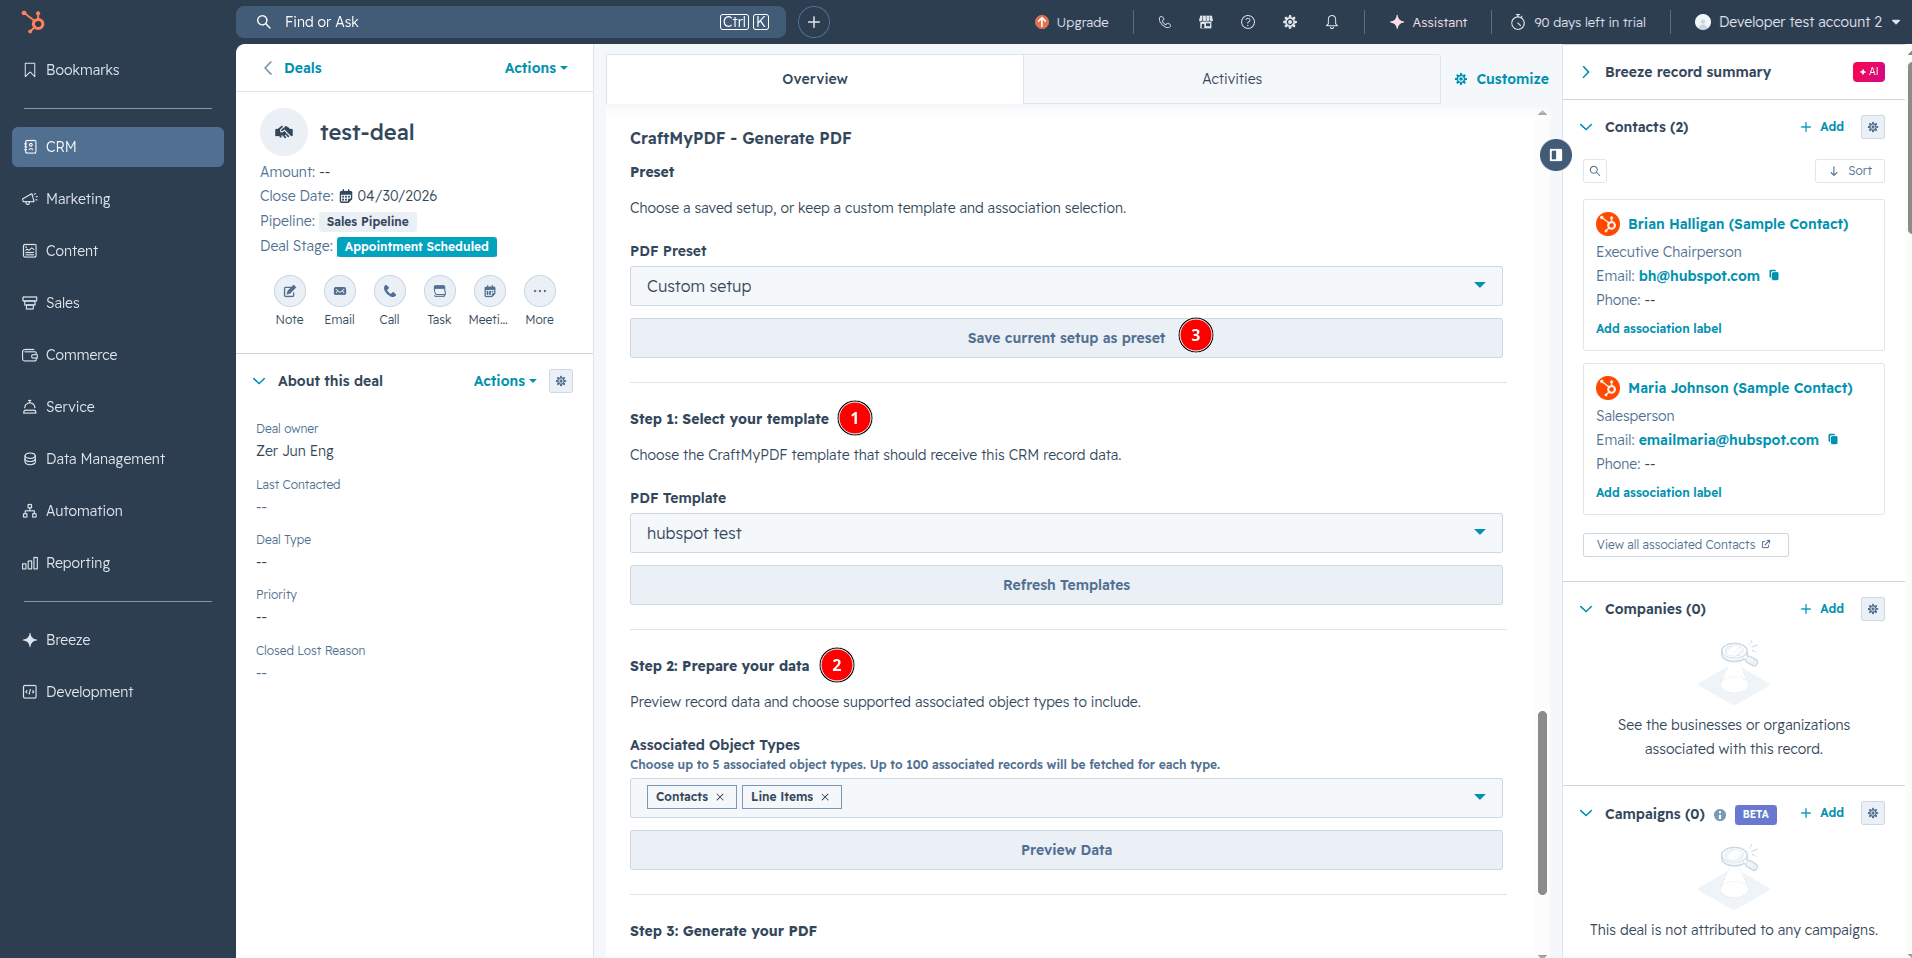
Generating PDF documents with the CraftMyPDF app is a straightforward 3-step process:
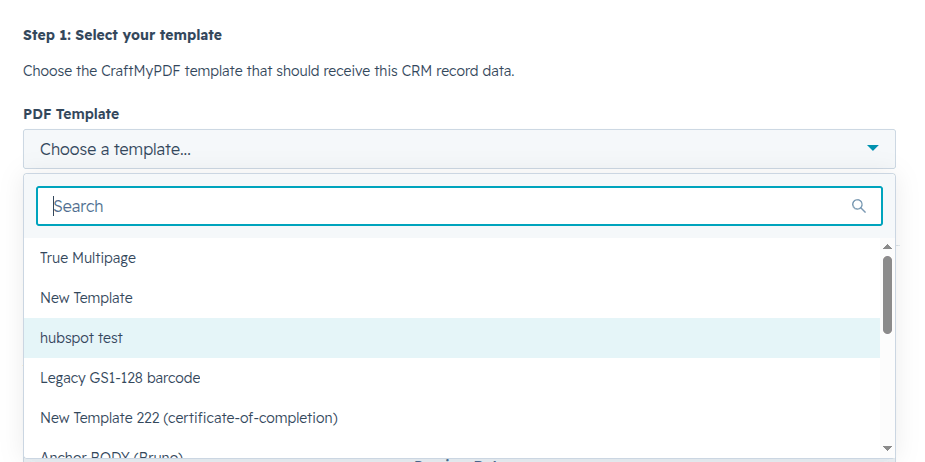
-
Select your CraftMyPDF template.
-
Select the associated object types that you would like to include.
-
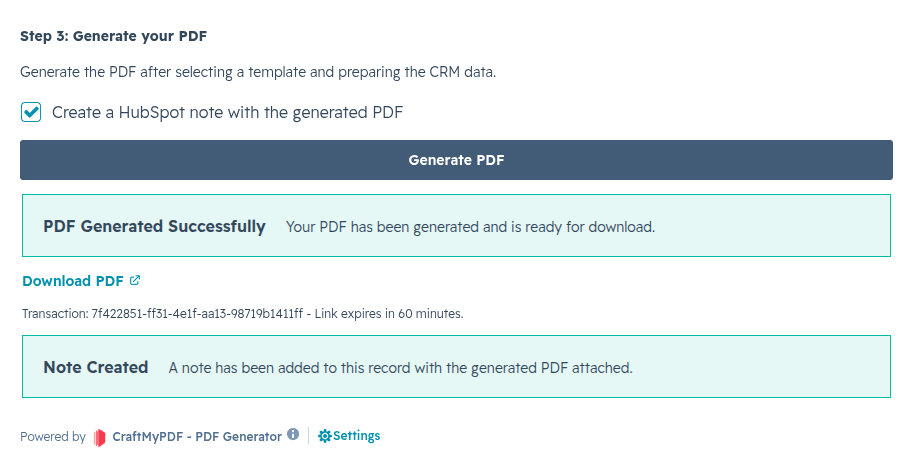
Click the Generate PDF button. You can also optionally choose to let the CraftMyPDF app create a note for the current CRM record with the PDF as an attachment.
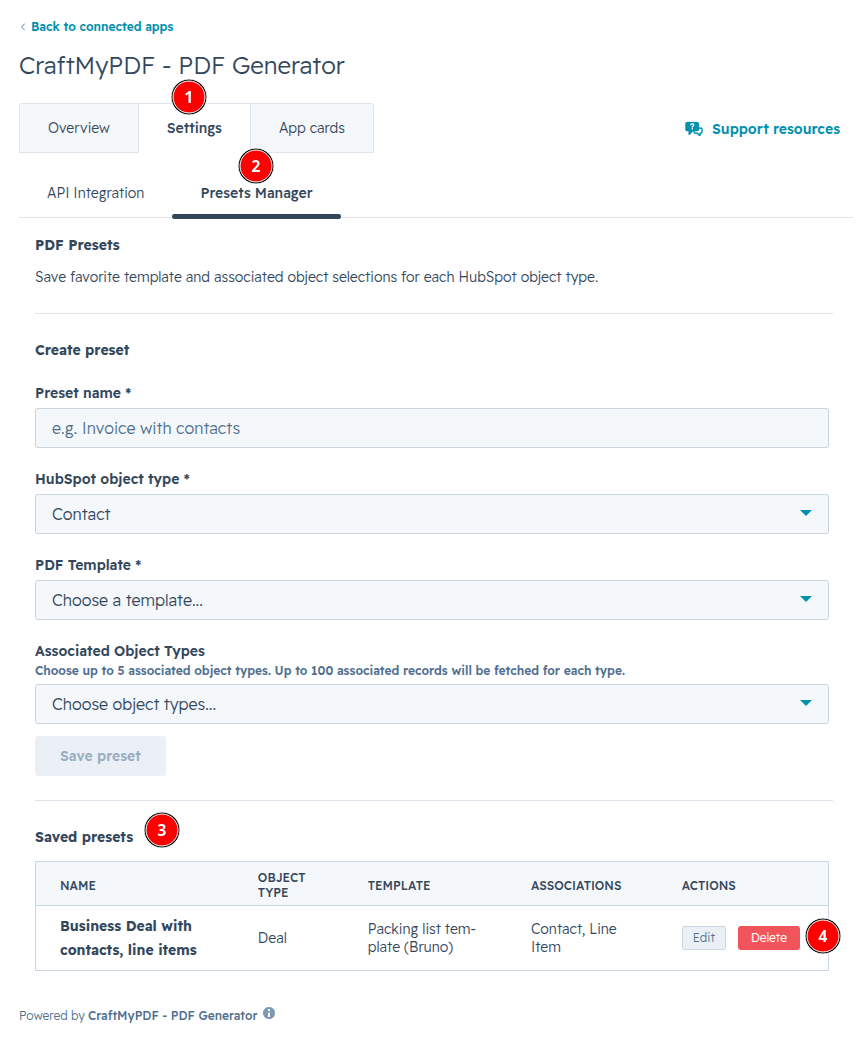
Managing presets
The presets feature allows you to save your favorite templates and associated object selections for each HubSpot object type.
-
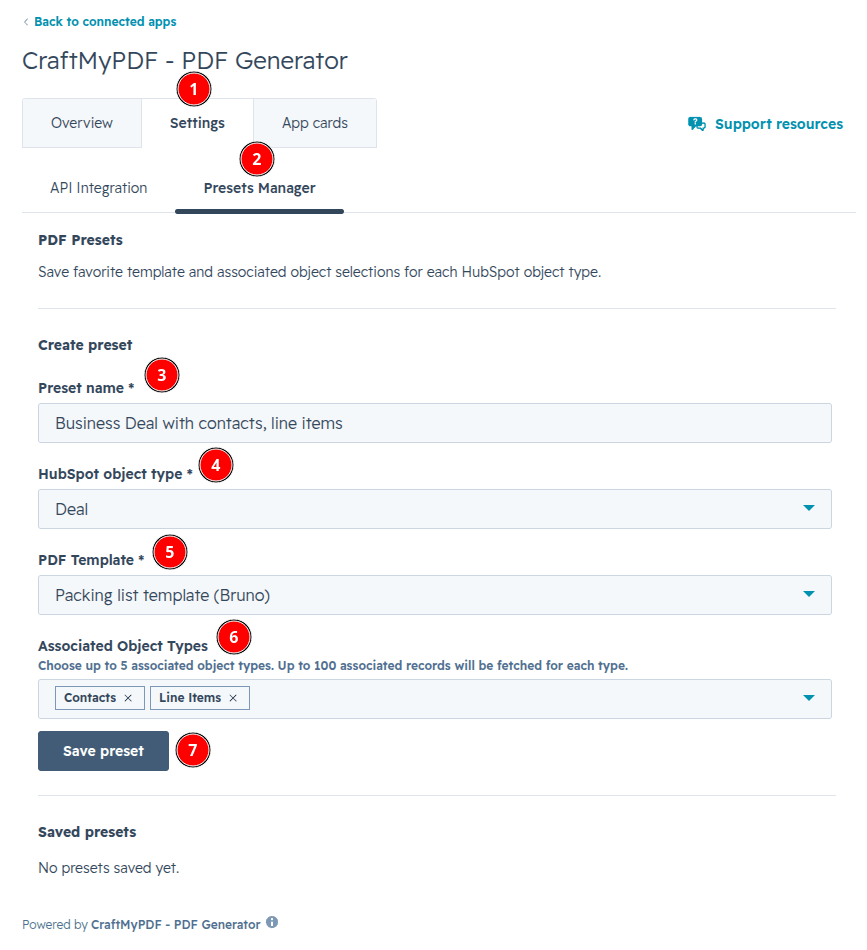
Go to the CraftMyPDF app settings tab, fill in the form, and click Save preset.
-
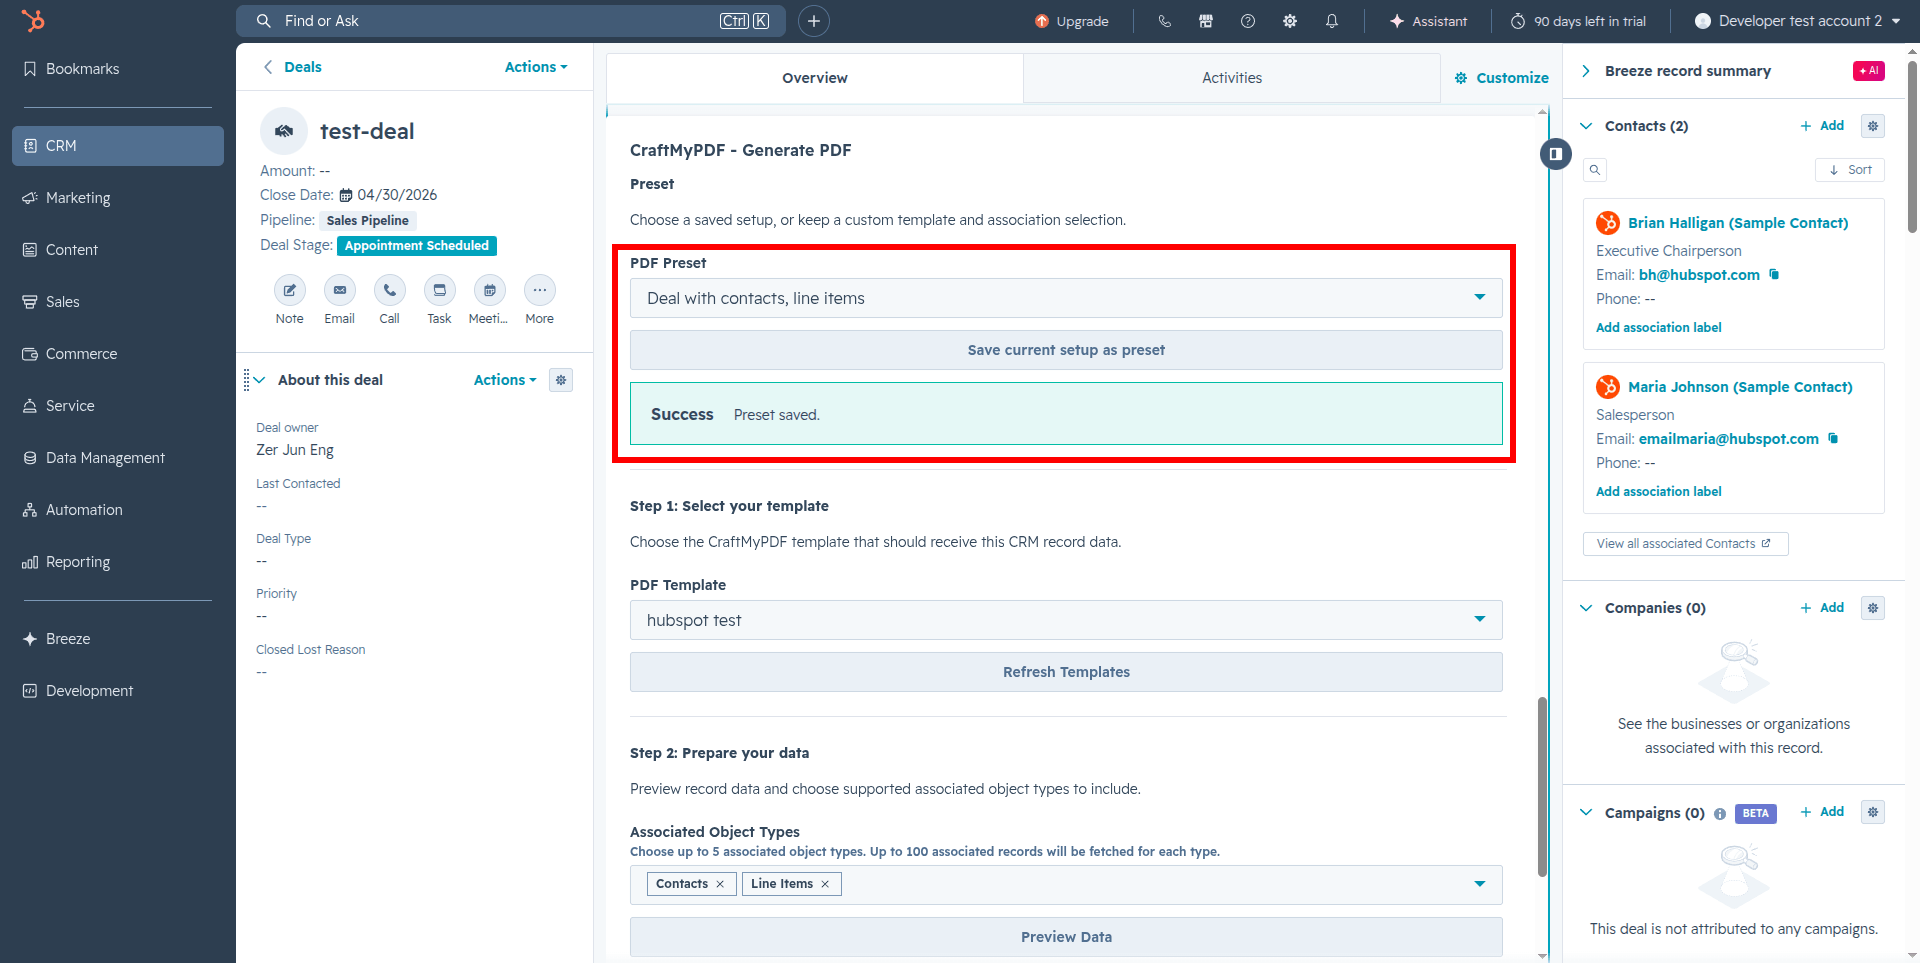
The system will display a Preset saved message. The Saved presets table will now show your saved presets.

You can also save presets directly on the app card.
-
After selecting the template and the associated object types, you can click the Save current setup as preset button.
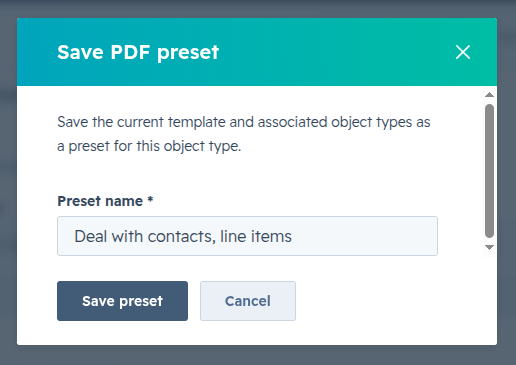
-
A dialog box will appear. Fill in the preset name, and then click Save preset.
-
The system will display a Preset saved message. Your preset is now saved and can be reused to quickly generate PDFs.
Disconnect the app
Disconnecting the CraftMyPDF app from your HubSpot account does not delete the generated PDFs attached to Notes. These PDFs will still be available inside the craftmypdf folder in your HubSpot Files.
-
In your HubSpot account, click the settings icon in the top navigation bar. In the left sidebar menu, navigate to Integrations > Connected Apps.
-
Click the Actions button on the CraftMyPDF app, and then click Go to settings.
Delete API integration settings
This section shows how to delete your saved API Integration settings:
-
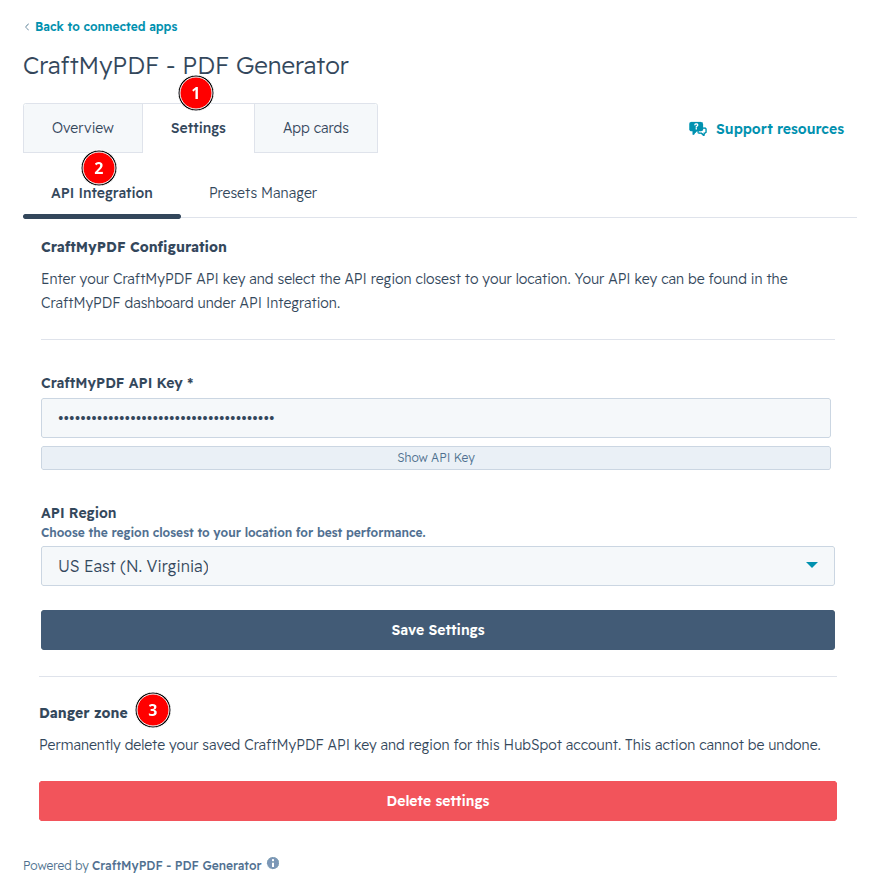
Click the Settings tab. Inside the API Integration tab, click the Delete settings button under the Danger zone section.
noteIf you do not see the Danger zone section, that means you have not saved your settings previously, and you do not need to disconnect.
-
In the dialog box, confirm that you want to delete your settings by clicking Delete settings.

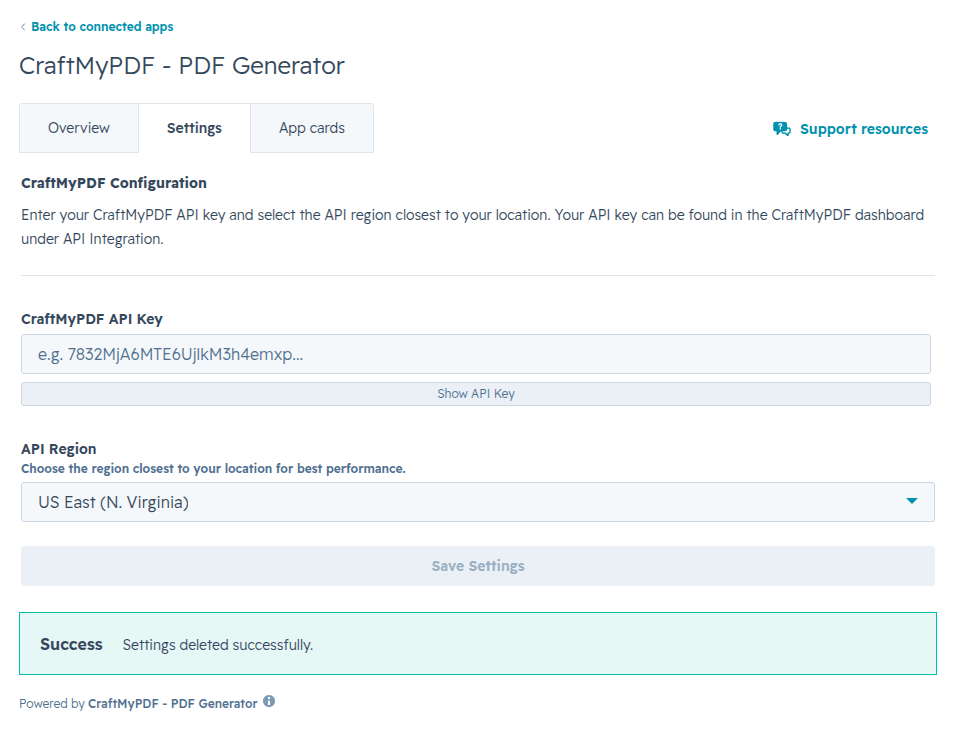
-
The system will display a Settings deleted successfully message. Your settings are now deleted.
Delete saved presets
This section shows how to delete saved presets:
Deleting a saved preset is permanent. You will have to create the preset again.
-
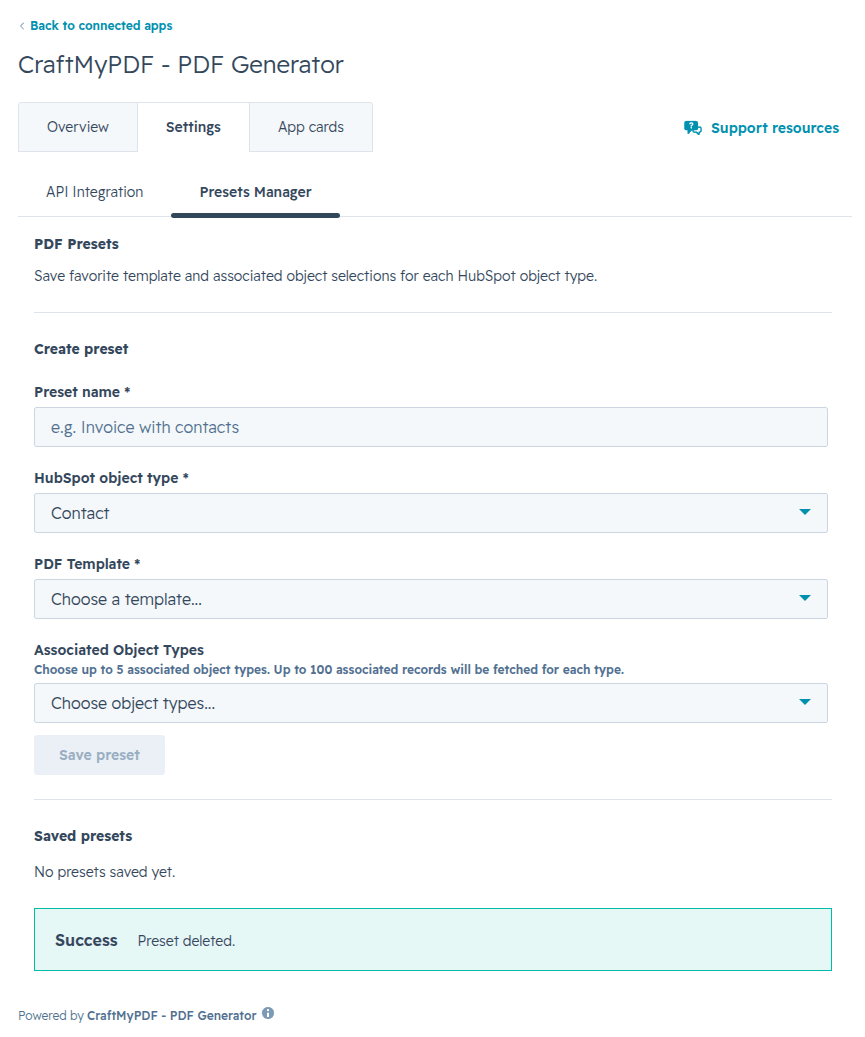
Click the Settings tab. Inside the Presets Manager tab, under the Saved presets table, click the Delete button for the preset that you want to delete.
-
When a saved preset is deleted, the system will display a Preset deleted message.
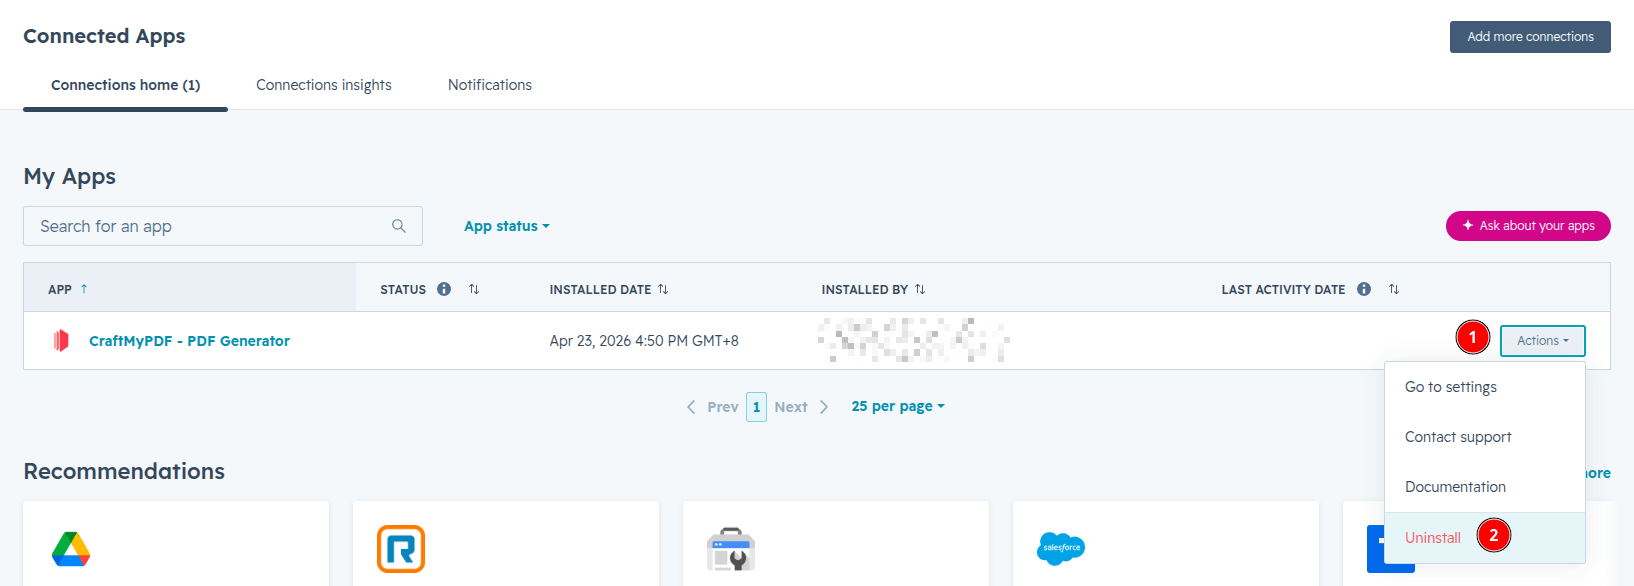
Uninstall the app
Uninstalling the CraftMyPDF app from your HubSpot account does not delete the PDFs attached to Notes. These PDFs will still be available inside the craftmypdf folder in your HubSpot Files.
To uninstall the CraftMyPDF app from your HubSpot account, follow the instructions in this HubSpot Knowledge Base article:
-
In your HubSpot account, click the settings icon in the top navigation bar. In the left sidebar menu, navigate to Integrations > Connected Apps.
-
Click the Actions button on the CraftMyPDF app, and then click Uninstall.
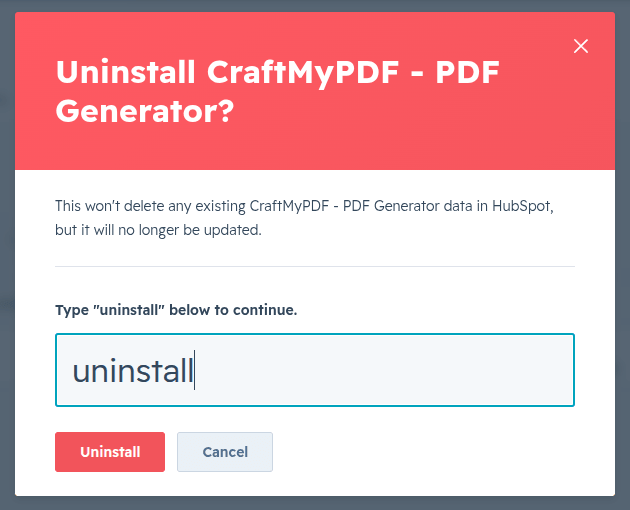
-
In the dialog box, type uninstall into the text field, and click Uninstall.